One Week at Disneyland With Disability Access Service
It’s finally time: let’s recap our week at Disneyland! This post will include our planning timeline to help you avoid overwhelm. I’ll talk about how we chose where to stay and why. And most important: how we utilized the Disability Access Service, including answers to y’all’s questions about it. Planning for Disneyland in 2023 is a huge undertaking (much more than when I was a kid!). So without further ado: how we planned for a week at the Happiest Place on Earth with a 4 and 6 year old, and how to use Disneyland Disability Access Service for yourself or an autistic family member.
Important Note: DAS can only be used by people who may have trouble waiting in a typical line, not necessarily for those just with mobility differences, such as the use of scooters or wheelchairs. Check the Disneyland website to see if you may qualify for DAS.
Table of Contents
Feel free to skip around or come back to different parts of the post when you need!
Part 1: Planning
Disneyland trips are not what they used to be. So much more goes into securing tickets, planning for hotel stays, and sketching out itineraries. Back in my day, you brought Coke cans for discounted tickets as a California resident and that’s how you got everyone in for cheap. Not so anymore.
The biggest piece of advice I can offer for getting tickets is to get them as early as possible. This is especially true if you know you’ll be going at a popular time (school breaks in particular). We got our Disneyland ticket reservations and hotel in November for an April trip. If you’re travelling from anywhere outside of Southern California, I really recommend planning at least six (6) months in advance.
You don’t have to have your itinerary set that early, but that span of time gives you room to budget. It also gives you lots of time to prep the littles, which I’ll get to in a later section. Unless you’re made of money, Disneyland trips aren’t cheap, so start budgeting as early as you can.
Another thing early planning allows you to do is choose your hotel.
Part 2: Choosing Your Hotel
I don’t know if you know this, but there’s a lot of hotels in Anaheim. There’s also a lot of AirBnBs and other homeshares. So how can you choose what’s best for you? Here’s our calculus:
- Why are we taking this trip? Well, it’s our kids’ first trip to Disneyland and we want it to be special. That really changed the calculus on where we decided to stay.
- How old are our kids? Their ages made a difference in planning, also. But even for slightly bigger kids, that final walk back to the car after a long day was brutal at every age. I fully remember just collapsing on the tram multiple times because we’d walked and stood around so much that my body just did not want to move anymore. And that didn’t change with this trip either.
- Do they need breaks and/or naps? Your kid may need sensory breaks or they might need naps. Or both! Staying closer is nicer because it’s less of a schlep and you have a more private space to rest. To Disneyland’s credit, they’ve done a lot to create more quiet spaces, but for longer rests/breaks, a hotel room can’t be beat. You may also choose to stay further out and rent a car to drive into the park every day. Also consider if you’ll be using a stroller at all.
- Do we care about the amenities? The biggest bonus for staying in the parks is early entry. This is a great way to get in and ride some rides or just experience the parks before the crowds show up. If you don’t care that much about that, the benefit of staying on property probably isn’t worth it.
- What’s our budget? The biggest one, honestly. Hotels in Anaheim, on- or off-property, aren’t cheap. We decided to churn a credit card to pay for our trip. We booked our hotel and tickets together and then used the points we earned to get free flights. It was also helpful to have that card to pay for everything in the park via the app. But your mileage may vary.
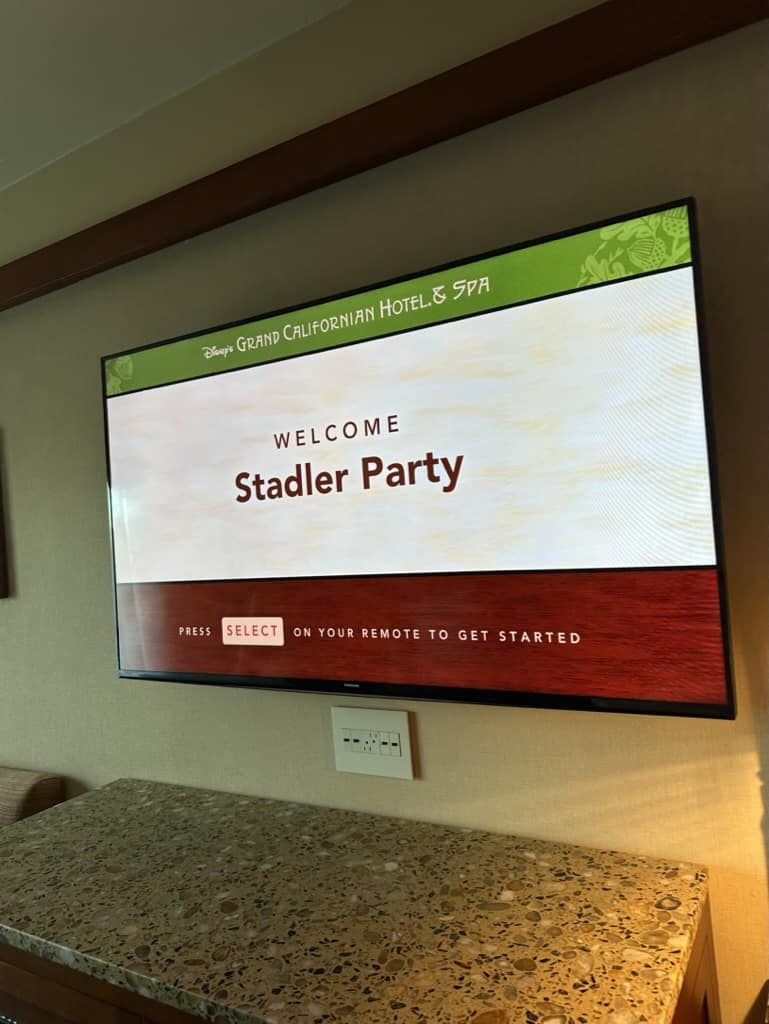
We ended up choosing the Grand Californian Hotel for several reasons: it’s a special trip, it’s close, we liked the amenities in and near the hotel, and it was the nicest one. Go big or go home.
Part 3: Preparing the Littles
For both neurotypical and neurodiverse kids, I’m big on preparation beforehand. Whether we’re going for a hike or a big family trip, countdowns and expectations help a ton. They have plenty of time to get excited, but they also have lots of time to adjust to expectations. We also like to involve the kids in planning so they feel a sense of investment and agency in what we do.
Ways we prepared both kids
- Watching videos: We watched a lot of POV videos of the rides we’d be going on. Both our kids like to know what to expect in new situations (who doesn’t??), so having some expectations of what each ride would be helped immensely.
- Social Stories: We don’t make a ton of use of social stories, but we found this great video on YouTube to use as a primer. A trip to Disneyland from Seattle is a big undertaking, so every level of preparation we could do was worth it. Especially since we hadn’t flown on an airplane as a whole family in years!
- Involve the Kids: Have them help plan! Maybe not big stuff like budgeting, but helping prioritize rides or areas to visit each day. Let them help choose their clothes (from sets of clothes you already picked out). Let them know what to expect in terms of waiting. Familiarize them with the Disneyland Disability Access Service and how you’ll be using it. Work on safety tips (more on those later).
- Countdowns: Whether you start a big countdown from the second you start planning or a shorter one right before your trip, countdowns help a lot. There’s no shortage of ideas on Pinterest or countdowns you can buy on Etsy.
- Talk About It!: Talk about your trip! Talk through any excitement or worries. Having them help plan will help with this some, too. But even if they don’t get involved in planning, just having them hear you talk about the trip can make it easier for them to talk about it, too.

Part 4: Planning an Itinerary
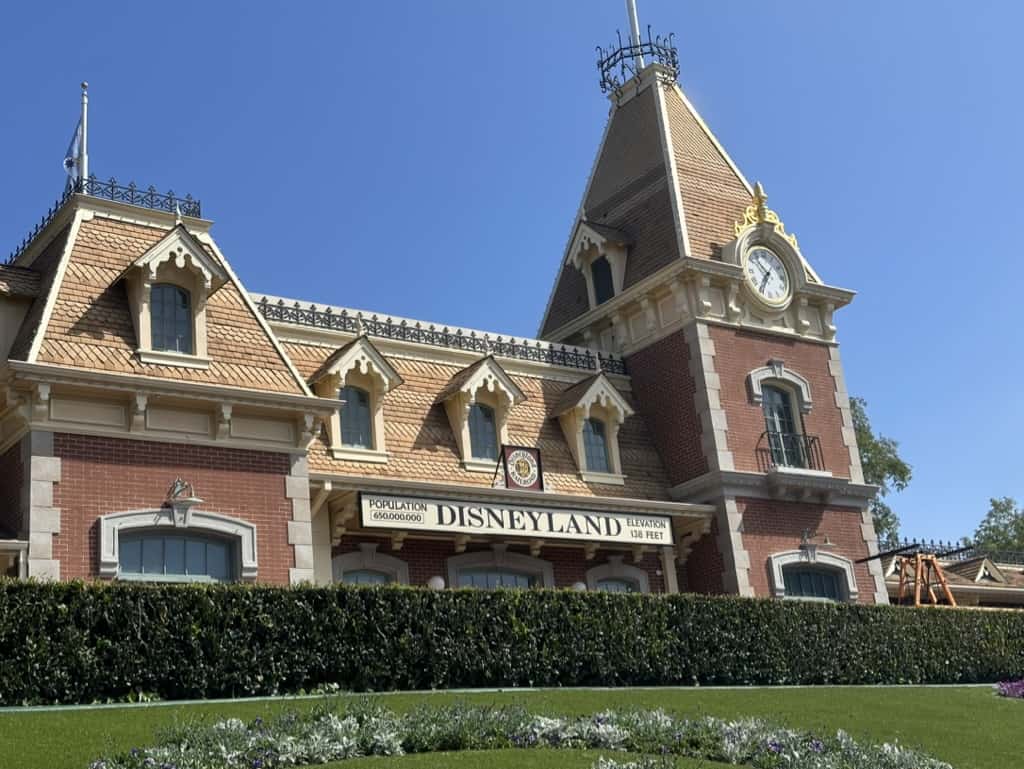
Used to be you could do Disneyland in a day and hit most everything. Those days are long gone. Now you need at least two days for Disneyland and another for California Adventure.
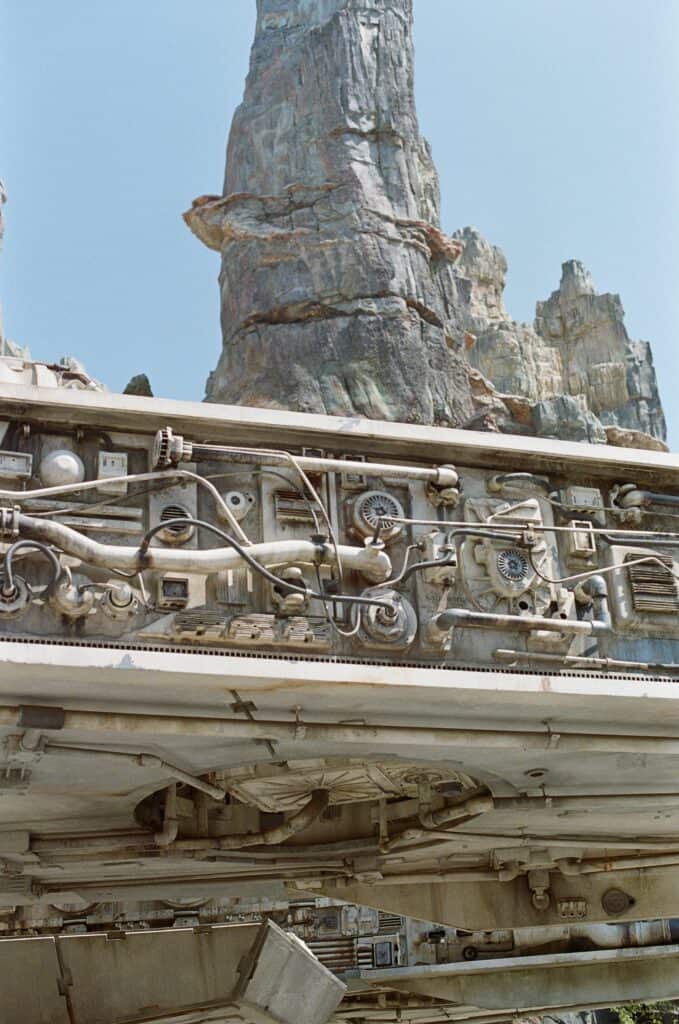
If you’re staying on property, the best thing to do is plan to ride the rides that will fill up fast either right at rope drop (such as Rise of the Resistance in Galaxy’s Edge) or before the crowds show up (like WEB Slingers on the Avengers Campus). One thing to note for DAS is that it doesn’t activate until after rope drop, so don’t expect to be able to use it before the parks open to everyone. More on this later.
For us, we got into Disneyland mid-morning and planned to spend just a couple hours in the park. This would give everyone a chance to ease in, for the kids to get used to the crowds and waiting in lines, and time to rest if we were too tired from the flight. It gave us the day to play it by ear and not feel like we had to hit certain things and end up being disappointed if we didn’t do them.
Well, turns out the kids do great at theme parks and we were in Disneyland for a full 6 hours! Our main plan was to hit a couple of areas each day, give ourselves time to explore, wait in lines as necessary, and have space for taking breaks. Day one we already did half the lands we wanted!
Here’s our general itinerary:
- Day 1: Tomorrowland, Fantasyland, Toontown
- Day 2: Adventureland, New Orleans Square, Critter Country, Frontierland, Main Street
- Day 3: California Adventure (you can do this in a day)
- Day 4: Galaxy’s Edge, Fantasyland, re-ride any favourite/previously missed rides
- Day 5: California Adventure
I won’t turn this into a full travelogue, so let’s get into how to use and make the most of DAS during your stay.
Part 5: Disability Access Service
What is DAS?
- DAS is Disability Access Service, one of the ways Disney Parks accommodate guests with cognitive or developmental disabilities. It’s particularly useful for autistic guests, like my oldest son, and their party (up to 6 people total). Think of it like FastPass or Disney Genie/Lightning Lanes but for basically every ride and as much as you need, rather than just once per day.
Who can use DAS?
- DAS is more for those who can’t wait in line for long periods rather than just for those with mobility differences, such as those in wheelchairs or scooters. For more info from the Mouse himself, check here.
How do I register for DAS?
- The easiest way to register for DAS is to do it before your trip. You’ll schedule a call with a Cast Member where they’ll ask who needs DAS and why. The questions aren’t terribly invasive, they just need to make sure those who are registering are those who will get the most benefit out of it. I described in general detail my son’s autism and why he has trouble waiting in long lines. The Cast Member will then set you up with DAS on your Disneyland account and you’ll be good to go! You can also pre-register for rides but we didn’t do that.
- If you don’t want to wait around and schedule a call, you can register in person at City Hall on Main Street. We chose to register beforehand so we’d be able to use it right as soon as we got in the park. But if you don’t have time or forget, you can do it on-site.
- If you register prior to your visit, you’ll need to schedule that call 30 days prior (so if your trip is April 14th, you can’t schedule the call before March 14th) and then anytime in that window up to 2 days before your arrival (April 12th, in this case).
- During your call, the Cast Member will take a quick photo of the person who’ll be using DAS. This will then let the Cast Members at the ride confirm that the correct person is using DAS every time.
How do I use DAS?
- On your Disneyland app, there will be a special section on the menu screen for DAS. You’ll choose the ride for which you want to use DAS and then a return window.
- You can only use DAS on one ride at a time, so the best route is register for a more popular ride (Space Mountain, the Matterhorn, etc) and then ride a ride or two with a shorter line. However, once you’ve returned for your DAS ride, you can then choose another ride right away!
- When you choose DAS for a ride, you’ll choose which members of your party will be riding and then reserve your return time.
- When you return, if there’s a Lightning Lane, you’ll return there and scan yourselves in. The Cast Members will verify that the person using DAS is there and then let you all scan in. You’ll then wait with everyone else in the Lightning Lane.
- If there is no designated Lightning Lane, you’ll head to the exit and a Cast Member will let you in to wait near where everyone boards.
- Remember that DAS is not available before rope drop, so you’ll need to wait until it activates unless you chose rides DAS Advance during your registration.
How we used DAS
- Day one we got in, realized we were all starving, and got lunch. While we waited, I registered us for DAS on Space Mountain. We decided to chance the line on Star Tours and by the time we were done there, it was time to hop on Space Mountain. After we scanned in for Space Mountain, I registered us for Autopia. After Space Mountain and the Finding Nemo Submarine Voyage (shoutout to my old heads who remember it as the 20,000 Leagues Under the Sea Submarine Voyage), we hopped on Autopia.
- Put more simply: register for one ride, choose a nearby ride with a shorter line and ride that, then go back to your original ride. Scan in for that ride, choose another ride while you wait in line. Lather, rinse, repeat. This will minimize the amount of time you have to wait in lines and make life easier for everyone.
Part 6: Other General Tips
- Water Bottles: Bring them. Refill them. We also brought Liquid IV to make sure everyone stayed appropriately hydrated. This is especially necessary in warmer weather if you’re not used to the dry heat.
- Snacks: If you don’t want to schlep snacks in your luggage, either do a delivery order or hit a grocery store and grab some snacks. This will cut down on the amount you’re spending on snacks in the park and help everyone have that little energy boost they might need while waiting in lines (this includes parents, too!).
- Pay in the App: Having a card on file in the Disneyland app for paying for drinks and food was clutch. One of the worst parts about Disneyland trips was always the wait for food when you were already starving. Being able to not only see the menus but choose a time to go pick up your food (say, right after you get off a ride) was incredible. We didn’t bother with Magic Bands but paying for things in the app was definitely the move.
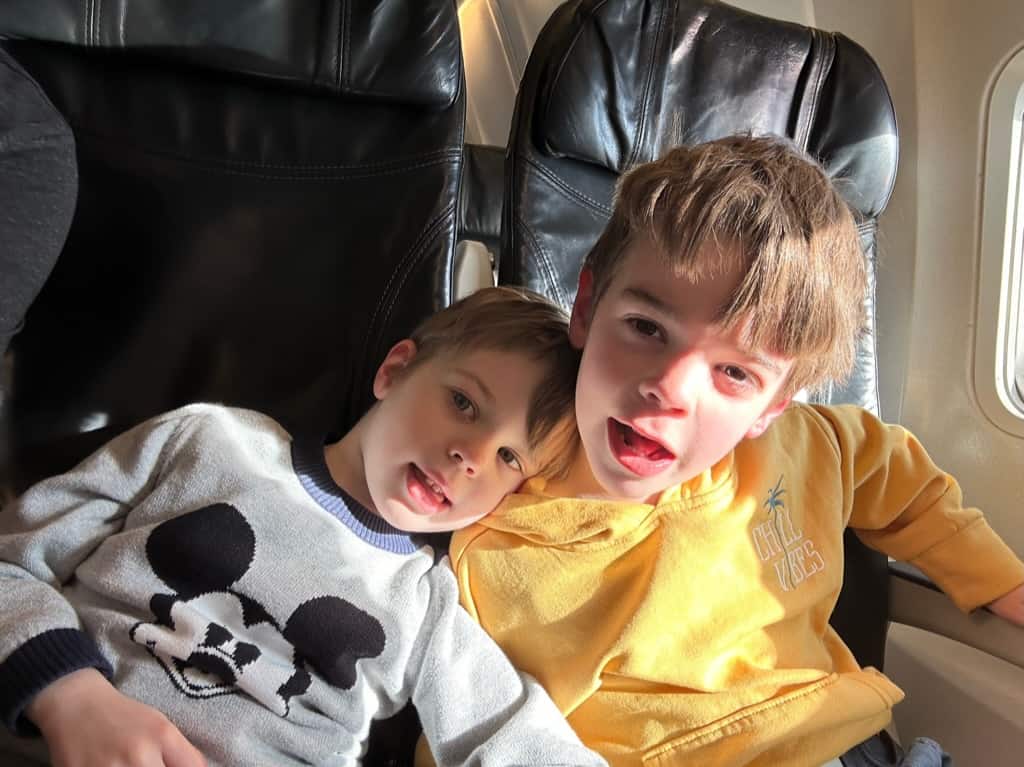
- Safety Pictures: Take a photo of your kids before you enter the park each day. This way you’ll have a photo of them in the exact clothes they’re wearing if you happen to get separated and need to find them.
- Practice with the Kids: Show kids what Cast Member badges look like so they know how to recognize one if they get separated from you. We also taught our kids that if they can’t find a Cast Member, find a mom with kids and say “I’m lost.” Our neurotypical 4 year old also knows our government names so he can find us easier.
- AirTags: Listen. I know Apple says don’t do this, and I understand it’s for legal reasons, but it helped ease my mind that little bit more. We attached them to a belt loop and put them in their pocket every day. We also figured there’s enough Apple devices in the park that we could easily ping off them and find the kid if needed. Thankfully, everyone was great about holding hands and staying close.

Part 7: Character Experiences
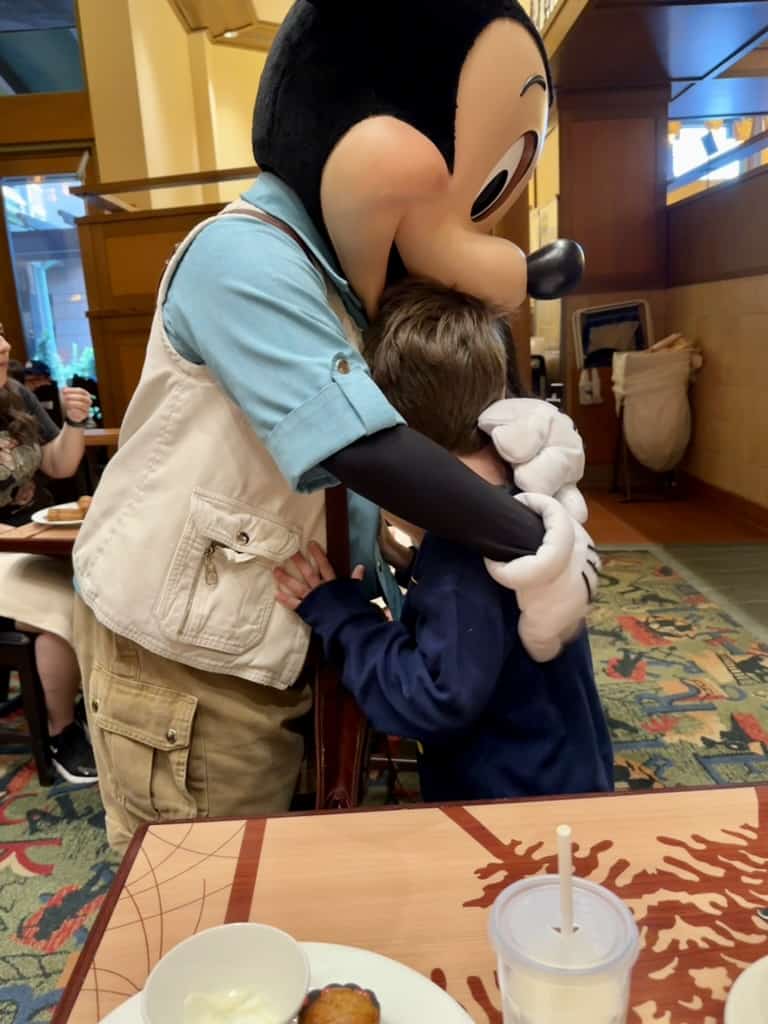
We knew that because our oldest loves Mickey Mouse, we might not be able to get as much time with them as we’d like, so we paid for the character breakfast at Grand Californian. You’re guaranteed to have Mickey, Minnie, Chip, and Pluto come around during your time at the brunch, so we splurged for it. It was 10000% worth it for us to see his excitement and have him give Mickey a hug and get that extra time with him. I will say that the characters across the park are very sweet with autistic kids, being gentle and giving them extra time for interactions and at the kid’s comfort level. We also prioritized seeing Pooh Bear in Critter Corner and the Sensational Six in Toontown (including Pete!!). Pooh Bear we got to take a little time with, but the other characters in Toontown were mostly just walking around so keep that in mind.
Part 8: Your Questions, Answered!
I asked on my insta for questions for this post, so let’s answer those now!
- “What questions do they ask in the interview?” The only questions I remember being asked are about the person who needs to use DAS and a general bit about why. You don’t have to answer in explicit detail; I simply stated that my son is autistic, can find it hard to wait in lines longer than 15 minutes, and that sometimes leads to meltdowns.
- “How much pre-planning did you do for rides?” Not much beyond planning that we’d hit certain lands on certain days, but we also played it by ear. We had Splash Mountain break down right as we were about to get on so that changed what we ended up doing, and we gave ourselves time for breaks or for one parent to ride a ride with a certain kid. Mostly we picked a land, found a ride for DAS if the line felt too long, rode some rides there, then planned where to head to after.
- “How much time did you spend waiting for rides?” I think the longest we waited was 45-ish minutes for the Matterhorn and that was in the Lightning Lane with DAS. Everything else was 30 minutes and under which was perfectly manageable for us.
Part 9: The End?
I don’t want this to become overly long with recapping our trip or repeating myself about DAS. I will say that if you have questions, feel free to comment and ask or ask me on my insta (@lifeasavoyager). The first version of this post was written in October 2023 and obviously, DAS may change over time. I’ll try to update this if/when it changes so you can be as up-to-date on the service as possible.